Yes, I'm still going with the ricotta. And here's a savoury recipe - my world famous cheesy triangles. At least, that's what I call them when I rock up to a party with a tray of them. I found the recipe years ago in one of the Sunday newspaper magazines - I think it was Karen Martini's - and I've meddled with it over the years. But this is the first time I've made it with homemade ricotta. Were they better as a result? Oh, yes, they were.
Everything's approximate here, but to make about 20, you'll need 200g ricotta, a cup of peas (frozen is fine), a big handful of chopped mint, an egg, salt and pepper, half a packet of filo pastry and about 100g butter. Mix together everything except the pastry and butter.
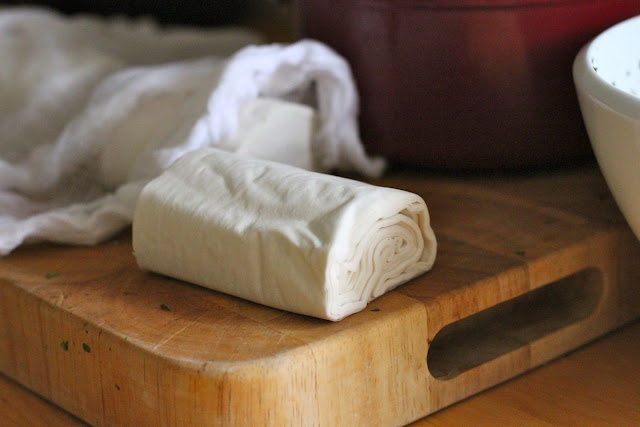
Next, take your filo. Before you unroll it, cut it into even pieces. For medium size triangles, I cut it into quarters. For dainty little party-size ones, go for sixths. Take one cut roll and cover the others in a damp tea towel so they don't dry out. In the meantime, melt your butter and have it nearby with a pastry brush.
Unroll your filo and lay out a few sheets side by side with the short ends in front of you - we're going for a production line here. Brush each strip of pastry with the melted butter, then top with another sheet. I used to always go for three sheets, but recently I've gotten lazy and only do two. It's up to you. Place a heaped teaspoon of the minty, cheesy filling at one end of each strip.
Now it's time to get rolling. Once you get the hang of this, it's really quick and easy. Fold over one corner 45 degrees to form a triangle, enclosing the filling. It doesn't matter if it smooshes out a bit, it'll all end up nice and tidy in the end.
Now flip it over, this time 90 degrees. Then keep going, 45 degrees then 90 degrees all the way to the top.
Before the final flip, brush the end with butter to help seal it closed.
At this stage, it's possible to freeze them. I lay them in a single layer in a ziplock bag, then place that flat in the freezer drawer. When you're ready to bake them, lay them out on a tray, brush with more melted butter and bake at about 200 degrees until they look nice and crispy and golden. I've never really timed it but about 20 minutes, I guess. If the filling is oozing out of them, all the better. Messy but squishy-licious.
And that's it. Serve with a herby yoghurt dipping sauce, or even a good homemade tomato sauce. Make it dinner by adding a salad. And if you're feeling terribly virtuous, you can substitute spray olive oil for the butter. But just quietly, the butter is part of the charm. These cheesy triangles are so good - crispy and flaky on the outside, oozy and soft in the middle, with a big burst of minty brightness to cut through the buttery pastry. They're so good, trust me. And now I'm hungry.


